DIY Bath Bombs For Kids (and Moms) in 5 Easy Steps
This post may contain affiliate links. Please see my full disclosure policy for details.
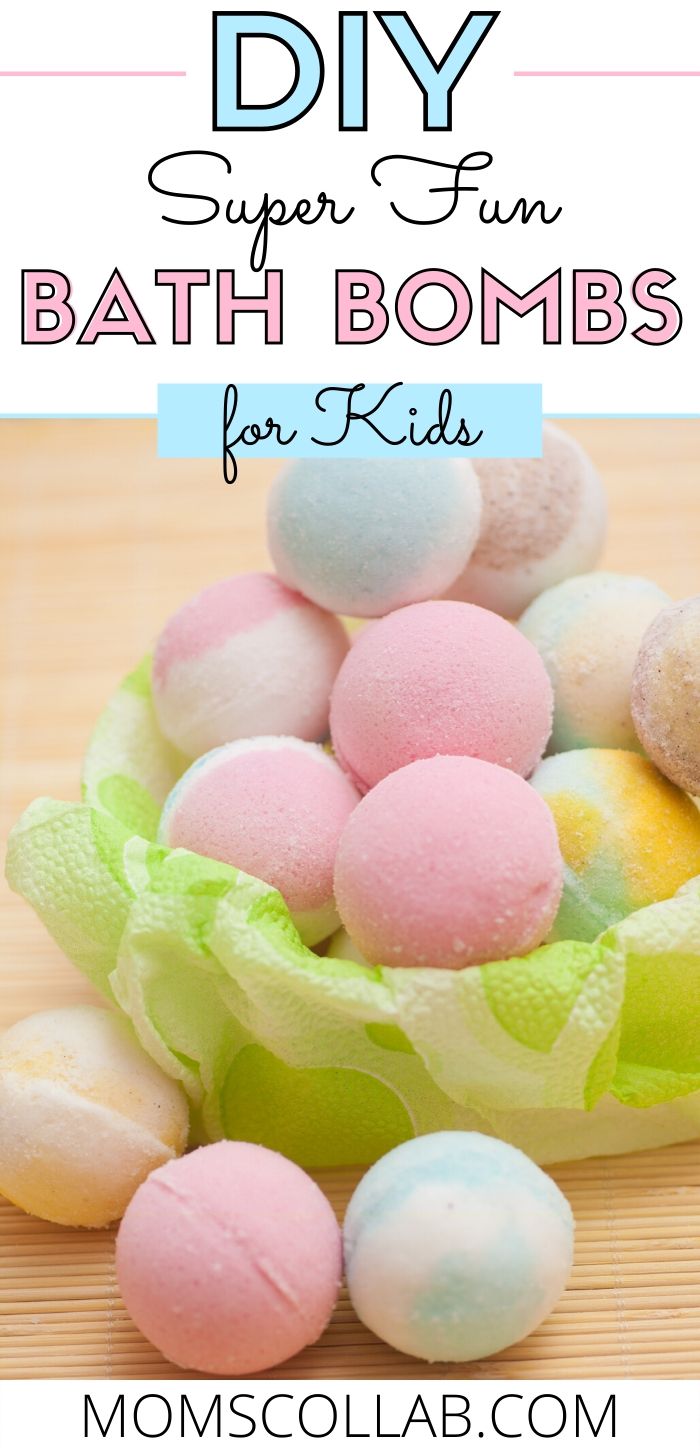
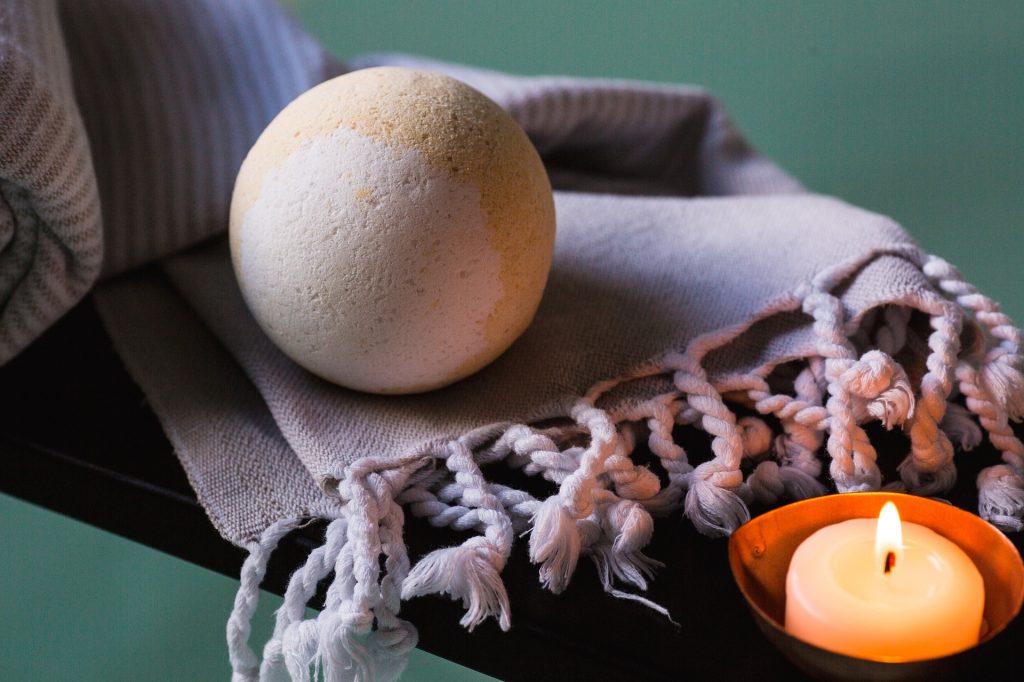
DIY bath bombs are so easy to make. Picture this: Candles lit, dim lighting while soft music fills the air. The kids are in bed and you are ready for a little me time. The bath is poured and you drop your favorite bath bombs into the water. You watch with anticipation as the bomb begins to dissolve filling the room with an aroma of peace. Ah, relaxation.
If you don’t have time to make them, you can grab some fun ones here, too! Bath bombs make great relaxing gifts for moms or fun gifts for the family to help soothe and calm kids after a busy day.
Our Top Offers for Immediate Fun!
Paper Dolls - Spend hours coloring, cutting, and dressing paper dolls with this huge printable kit.
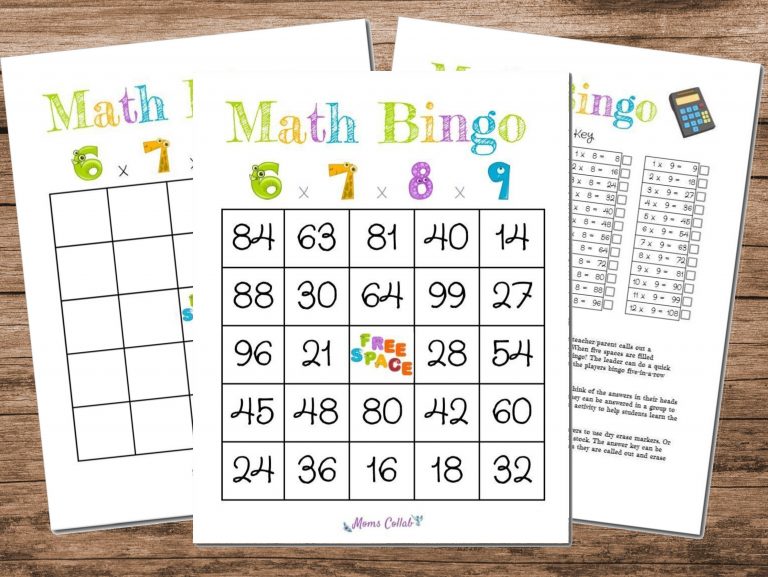
Math Bingo - Make learning mathematics fun for everyone with this complete kit of bingo boards, equations, answer key, and instructions.
Scavenger Hunts - Keep the kids busy for hours with these unique indoor scavenger hunts for kids of all ages.
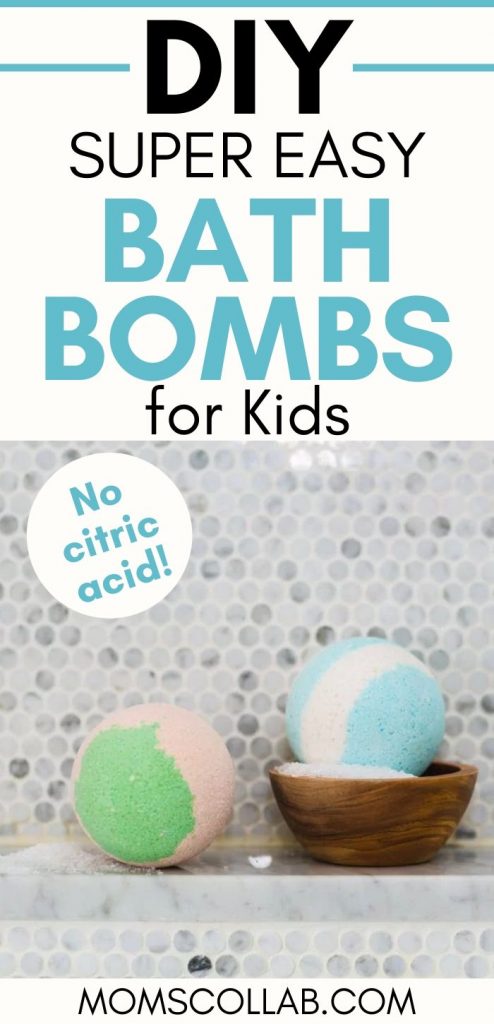
DIY Bath Bombs For Kids (Without Citric Acid)
For most of us, bath bombs are a great relaxation tool in the tub but with most costing upwards of $6 each, these pleasantries are a luxury we can’t always afford. Until now. We’re excited to show you these DIY bath bombs that are easy to make and inexpensive. Plus, they’re great DIY bath bombs for kids, too! They make bath time fun and relaxing for them as well. These DIY bath bombs without citric acid are safe, affordable and easy to make.
Related: How to Make The Best Dalgona Coffee
DIY Bath Bomb Ingredients and Supplies
To make these amazing bath bombs at home, you’ll need the following ingredients.
DIY Bath Bombs Recipe
What if we told you most of the ingredients for your DIY bath bombs were right in your kitchen? In fact, you can probably go make one right now without having to go to the store. These ingredients will make one softball-sized bomb (more if you use smaller molds). Simply multiply the supply list by the number of bombs you want to make at one time (or the number of molds you have on hand).
- Bath bomb molds
- 1 cup of baking soda
- 1/4 cup of cream of tartar
- 1/2 cup of cornstarch
- 1/2 cup of salt (Epsom salts, sea salt, or non-iodized table salt)
- 1 tablespoon of oil (vegetable oil, sweet almond oil, coconut oil, or olive oil)
- Optional: 6 to 8 drops of essential oil (for a soothing scent – adjust to your preference)
- Optional: 1 to 2 drops of food coloring
Related post: Fun Indoor Activities For Kids
The Best Bath Bomb Recipe
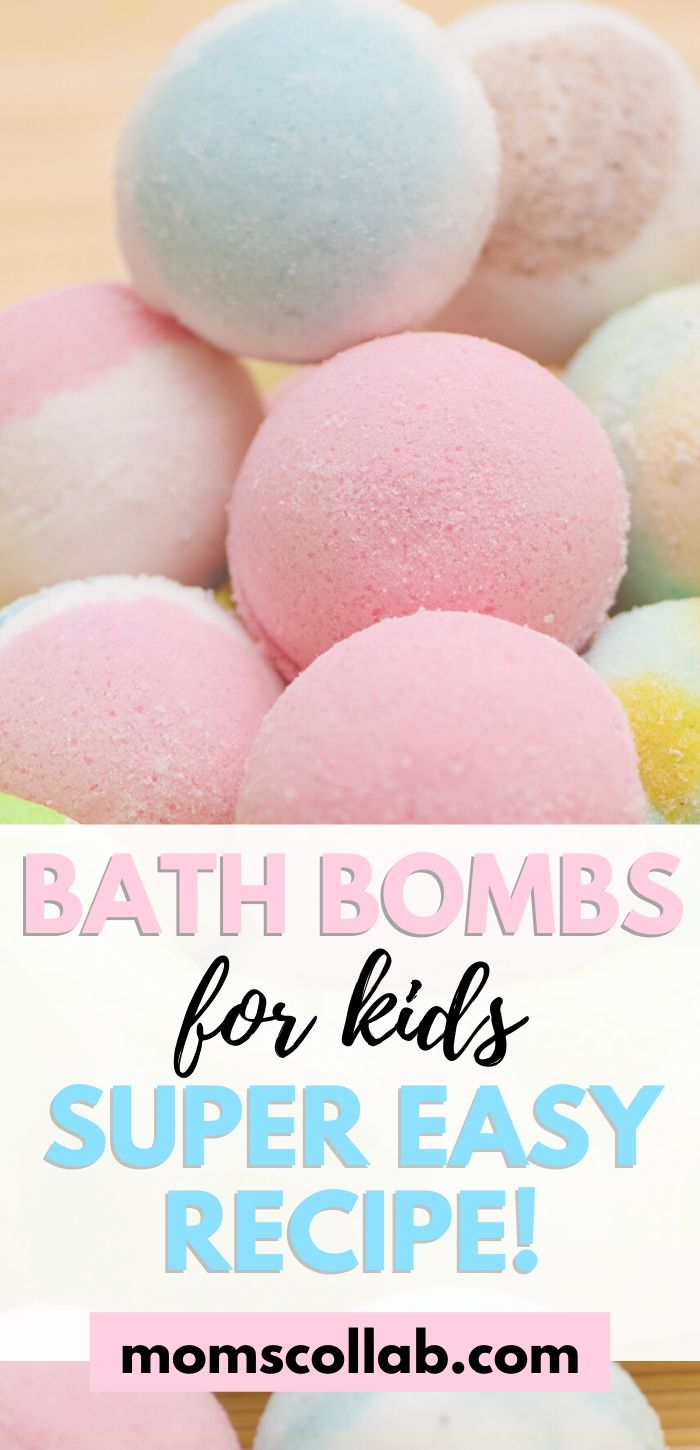
Here is the best bath bomb recipe for you to enjoy. And the best part is that it only takes five easy steps.
Step One: Gather Your Ingredients
You’re going to get your hands dirty. There is nothing more frustrating than getting into a recipe only to realize you forgot one ingredient (brings back cooking Thanksgiving meal memories, yikes).
Step Two: Add the Dry Ingredients to a Glass or Metal Bowl
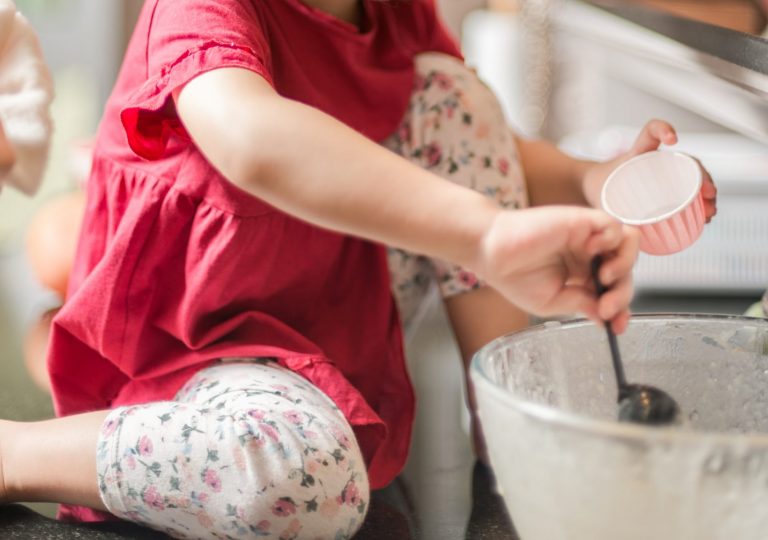
It’s time to mix. Place 1 cup of baking soda, ¼ cup of cream of tartar, ½ cup of cornstarch and ½ cup of salt into a glass or metal bowl. Don’t use a plastic bowl or aluminum bowl as oils can often react to the mixture and not be effective. Whisk the dry ingredients together.
Step Three: Add Oils and Food Coloring
In a separate bowl, mix 6 to 8 drops of essential oil (optional for a soothing scent) and one tablespoon of vegetable oil (sweet almond oil, coconut oil, or olive oil). Add one to two drops of food coloring (optional) and stir everything together. Next, add that to your dry mixture from step two. Add slowly while mixing in the oils with the dry ingredients.
Step Four: Fill Mold with Mixture
Grab a mold to place your mixture in. If you don’t have bath bomb molds like these, find an empty ice cube tray or any other shaped mold around your home. Using a spray bottle, spritz the mixture with water as you add it to the mold to help compact it into shape. Once this is done, let the mold sit for a few hours. Ideally, this works best if left overnight to allow the ingredients to settle and harden together.
Step Five: Remove DIY Bath Bomb and Enjoy
After letting your mold settle, it is ready to use. Whether you use this yourself or utilize these DIY bath bombs for kids, you’re sure to enjoy all the fun and relaxation of a bath bomb without the box store price tag.
Now Use Those Bath Bombs!
We all deserve some relaxing tub time. Let’s face it, the pressures of life are often washed away as we bubble in our bathtubs and forget the problems of the world. We’re so excited to see how you used these DIY bath bombs. Let us know how you and your family enjoyed the best bath bomb recipe in the comments below!
Related: What To Do When You’re Bored At Home Alone
