How to Make Stickers with Wax Paper and Tape (or Sticker Paper)
This post may contain affiliate links. Please see my full disclosure policy for details.
There are multiple ways to make stickers at home, but they all boil down to one thing—a cool picture with a sticky back. I’m going to show you exactly how I made these flower stickers using wax paper and packing tape.
If you don’t have the exact supplies I used to make these, keep reading! I’ll talk about some substitute supplies, and how you can tailor this tutorial to fit the items you have on hand.
When it comes to crafting, I’m usually a perfectionist—which is strange for me because I would not consider myself “artsy”! I think that’s why making beautiful crafts comes harder for me. I enjoy creating a fun craft with my kids using materials you can find around the house because it lends to much more creativity (and a lot less perfection).
But for these stickers, I realized that you could literally use all the creative liberty you want. They don’t have to be perfect! I decided to print some flower graphics to use for this project, but there are tons of other types of graphics you can print. Or, you could draw your own pictures, repurpose greeting cards laying around the house, or cut out pictures from old books, magazines or newspapers.
These DIY stickers with tape make perfect gifts for birthdays, holidays, or Mother’s Day and Father’s Day (hello hand-drawn pictures from the kids or tiny footprints from the baby!). Get the kids involved and let them enjoy making all kinds of stickers for every occasion.
Our Top Offers for Immediate Fun!
Paper Dolls - Spend hours coloring, cutting, and dressing paper dolls with this huge printable kit.
Math Bingo - Make learning mathematics fun for everyone with this complete kit of bingo boards, equations, answer key, and instructions.
Scavenger Hunts - Keep the kids busy for hours with these unique indoor scavenger hunts for kids of all ages.
Related: DIY Bath Bombs For Kids (And Moms) In 5 Easy Steps
What is a Sticker?
A sticker is a picture that has a sticky back to it so that you can fix it to a journal or diary page, notebook cover, or your own shirt. To be honest, you could stick them to just about anything! There is a certain novelty to stickers that you don’t grow out of. Everyone likes to decorate their belongings to reflect their personality and tastes, and stickers are the perfect way to do that.
In this tutorial, I am going to talk about two ways to make stickers. The first way is simple and a little less DIY if you like the outcome more than the process. But if you enjoy the process just as much as the final result, then you can DIY the entire process using just pictures, wax paper, and tape (and a couple of other things you probably have lying around the house).
Related: The Best Journal Starter Kit To Inspire Your Kids To Write
How to Make Stickers Using Sticker Paper (The Easy Way)
Since crafting itself isn’t everyone’s forte, you can still DIY stickers at home while making the process extremely flexible, quick, and more affordable than just buying tons of stickers. This method costs slightly more than using tape and wax paper, but less than buying stickers from a store. Plus, it only takes two easy steps, and you can still use any image you want for your stickers.
For this first method, you’ll need to buy sticker paper. At first glance, you may think that sticker paper looks expensive, but don’t forget that you can fit tons of little stickers onto one sheet! So if you do the math, it’s easily cheaper than buying stickers from the store and you can customize your sticker images to your liking.


If you want to do the process using wax paper and tape, just skip to the second method!
Related: 4 Easy Steps To Create Bookmarks For Gifts And Personal Use
Step One: Set Up Your Images on a Single Page
If you want to use digital images to create your stickers, you’ll need to first arrange them on an 8.5 x 11-inch document. I like to use PIXLR to arrange images onto a single page. It’s a free online tool that allows you to upload multiple images into one document.
If you want to handmake your images, you can use markers to draw designs directly onto your sticker paper.
Sticker paper will not work well if you have images on hand and want to use them to make stickers. To do this, follow the process of using tape and wax paper below.
Step Two: Print Your Images onto Sticker Paper
After your images are digitally prepared, run a test print to make sure your color settings and print quality are adjusted to your liking.
Then, load your printer with sticker paper. Make sure to load your printer with the sticky side of the paper on top. Unless you have a larger commercial printer, your printer most likely pulls the paper from the tray and flips it before printing the image.
If you’re not sure which way to place the paper in the tray, do a test run. Write “face down” on a regular sheet of paper and print a test image. Does the image print on the same side that you wrote “face down”? If so, you will want to lay your sticker paper sticky side up. If not, lay the paper sticky side down.
And there you have it! A super-easy way to make your own stickers at home.
Related: 5 Steps To An Unforgettable Indoor Scavenger Hunt
How to Make Stickers with Tape and Wax Paper
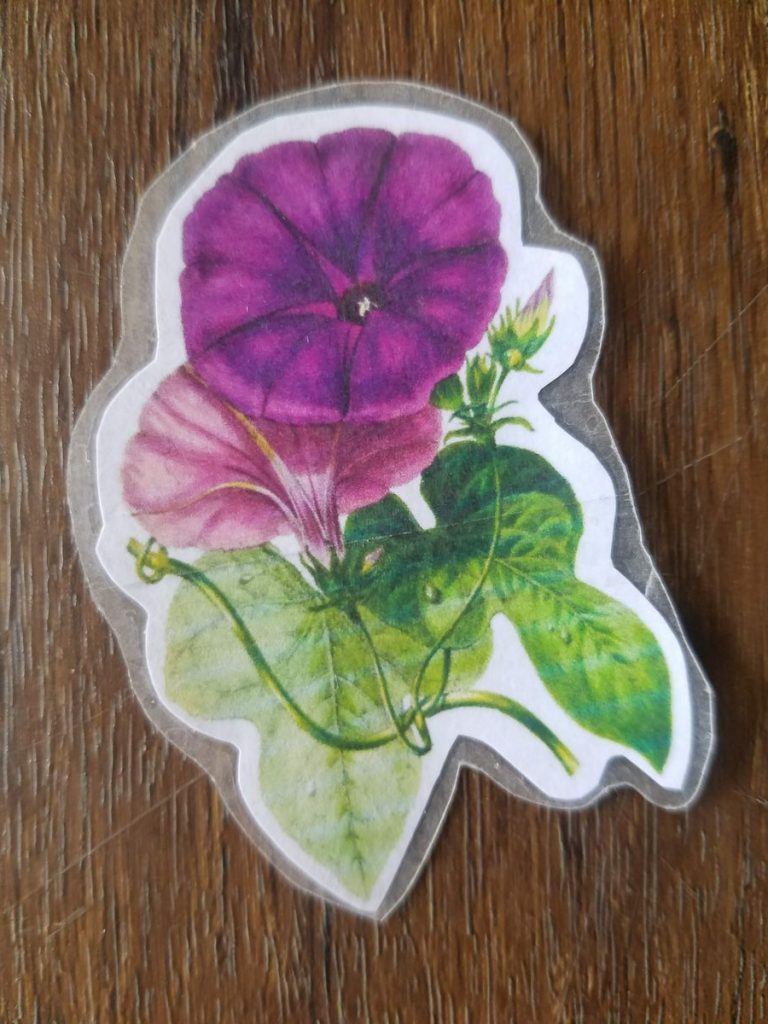
If you’re into crafting for the process and not just the result, then making stickers from scratch using wax paper and tape is for you! I used some lovely digital pictures of flowers to make my stickers and I love the results. Sure, my final stickers weren’t perfect, but I learned some tips along the way to make sure I don’t make the same mistakes twice. I’ll share those insider tips with you, too!
Let’s get started.
Supplies
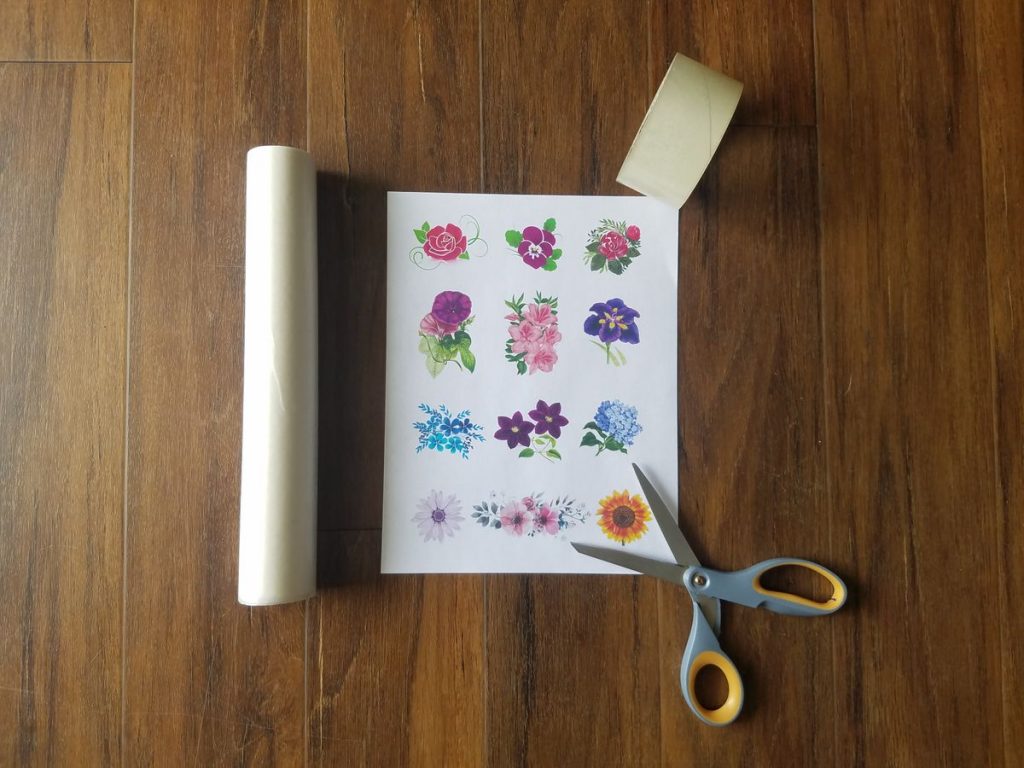
Here’s what you’ll need to make these amazing homemade stickers:
- Images (print them, find them, or draw them)
- Two sheets of wax paper (or parchment paper)
- Scissors
- Clear packing tape (or regular Scotch tape, but a larger tape is best)
- A razor blade (or a needle or sharp knife)
- Glue dots (or a glue stick or double-sided tape
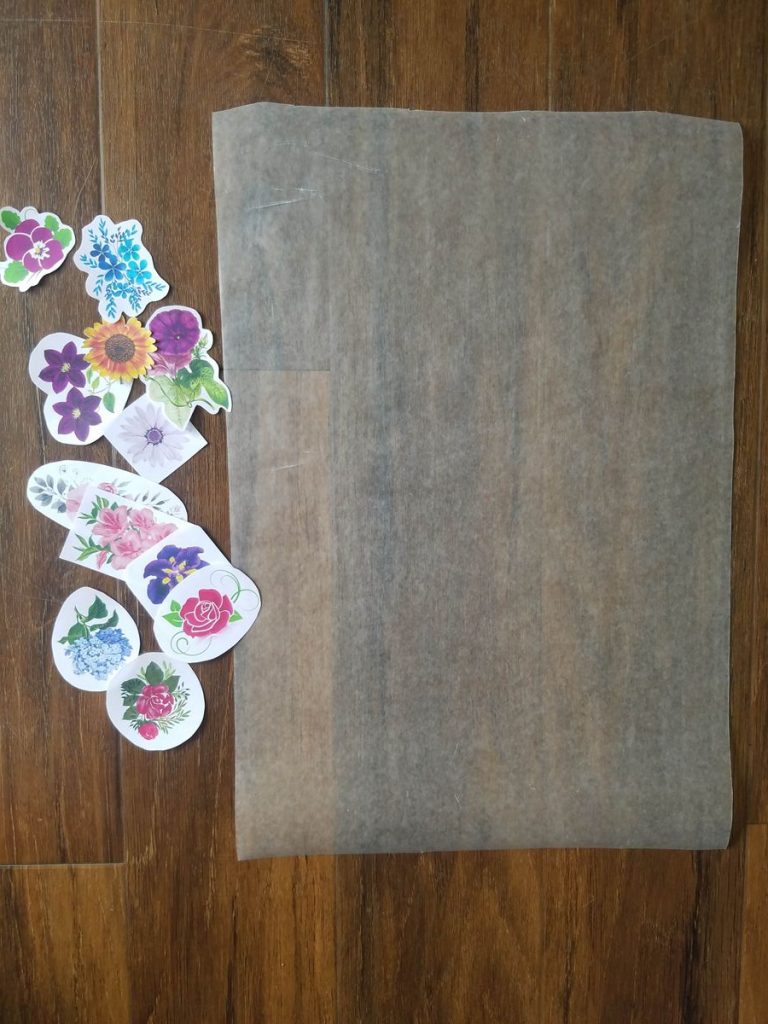
Step One: Choose Your Sticker Images
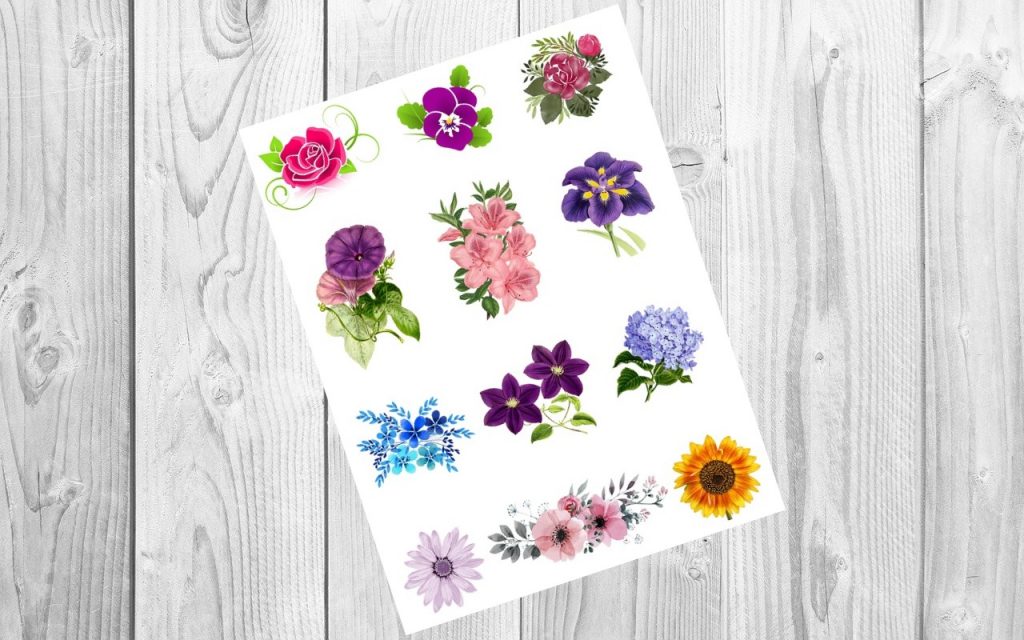
I found some pretty flower illustrations from Pixabay (a free image website) and put them all onto one document using PIXLR. Then I printed them in color. If you’re not computer savvy, this could take a while to set up just right. It took me about half an hour to find, resize, and place the images just right on the page (and I’m very familiar with the tools—it could take you longer, but it’s worth learning!).
If you’re in a hurry to make these DIY stickers as a gift, for example, you can swipe my digital copy of the exact sheet I printed right here on Etsy. You’ll receive the page instantly upon checking out!
Related: 32 Free Heart Template Printables To Cut Out, Trace, Paste, And More
There are tons of other places to find physical images for your stickers so that you don’t have to use a computer or printer at all. You can use old comics, newspapers, magazines, books, or hand-drawn images, to name a few.

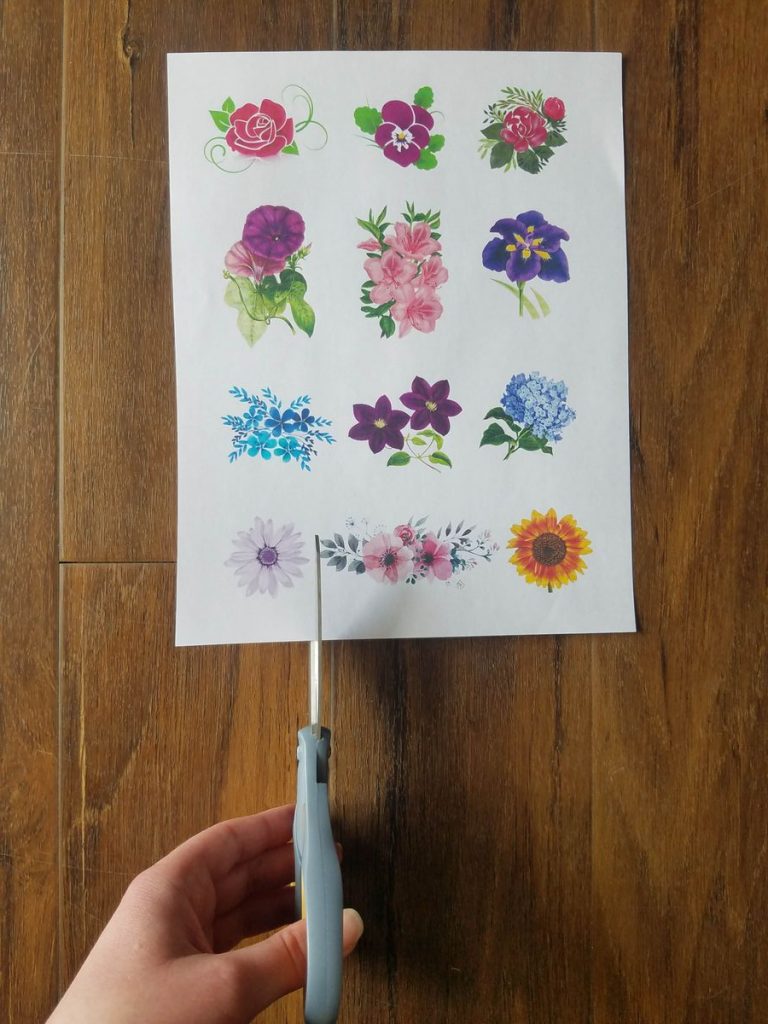
Step Two: Cut out Your Sticker Images
Different Cut Out Methods
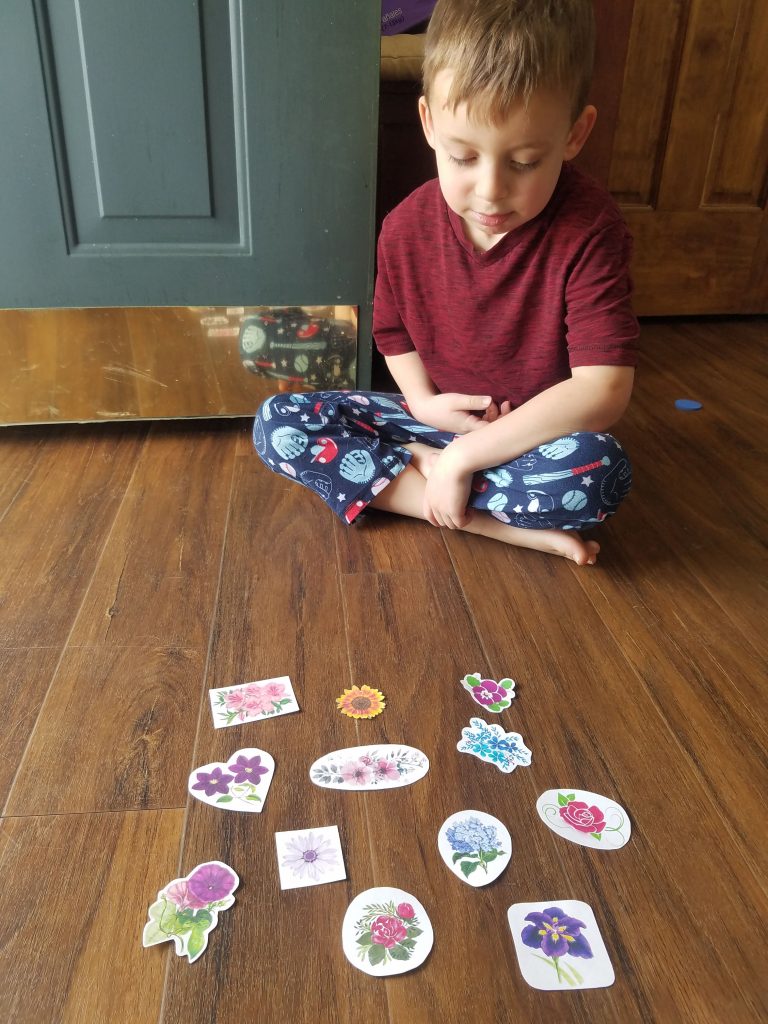
When making your stickers, there are a few different ways to cut them out. I’ll show you a few examples of the ways I cut my flower stickers.
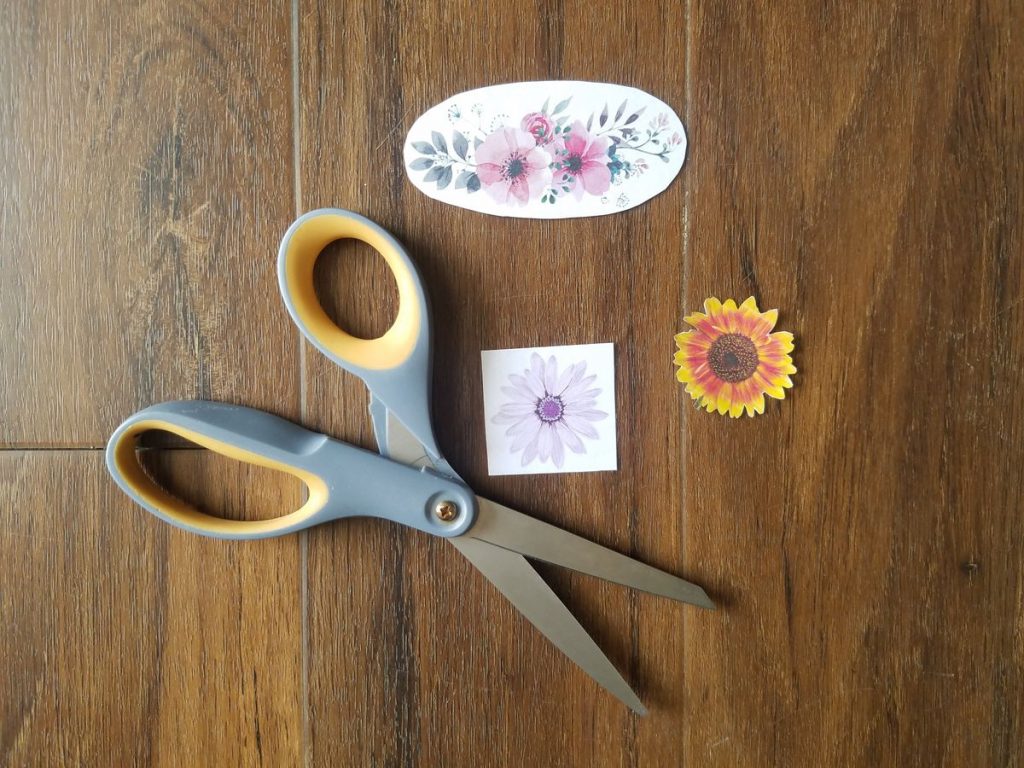
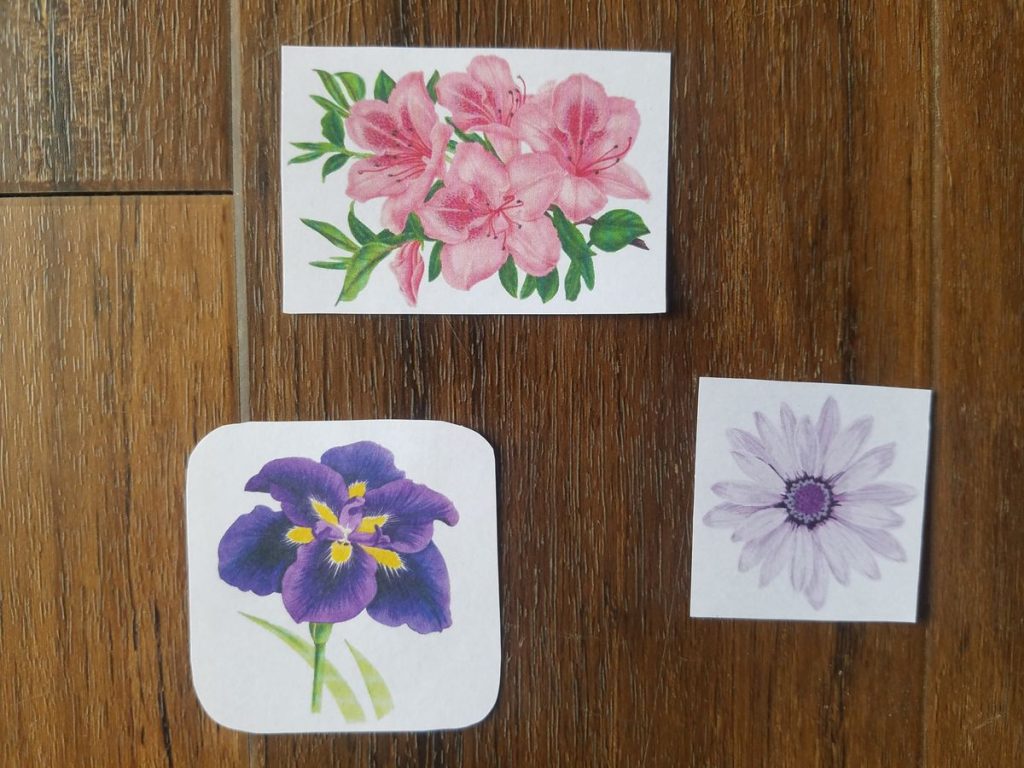
Rounded cut:
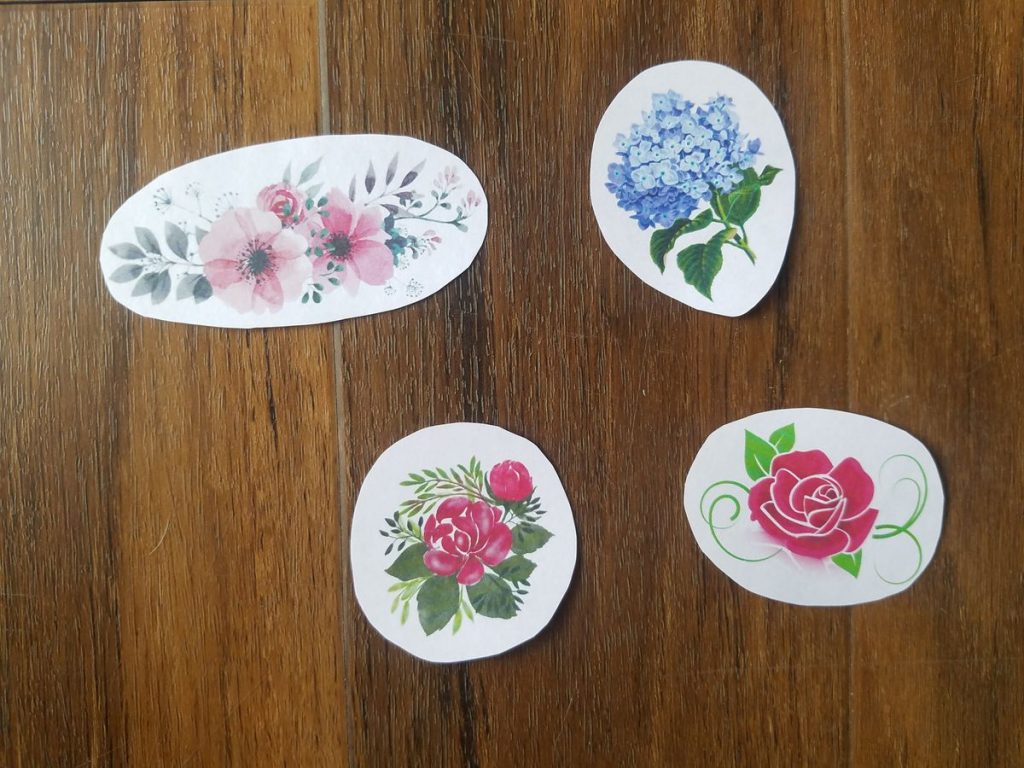
Heart-shaped cut:
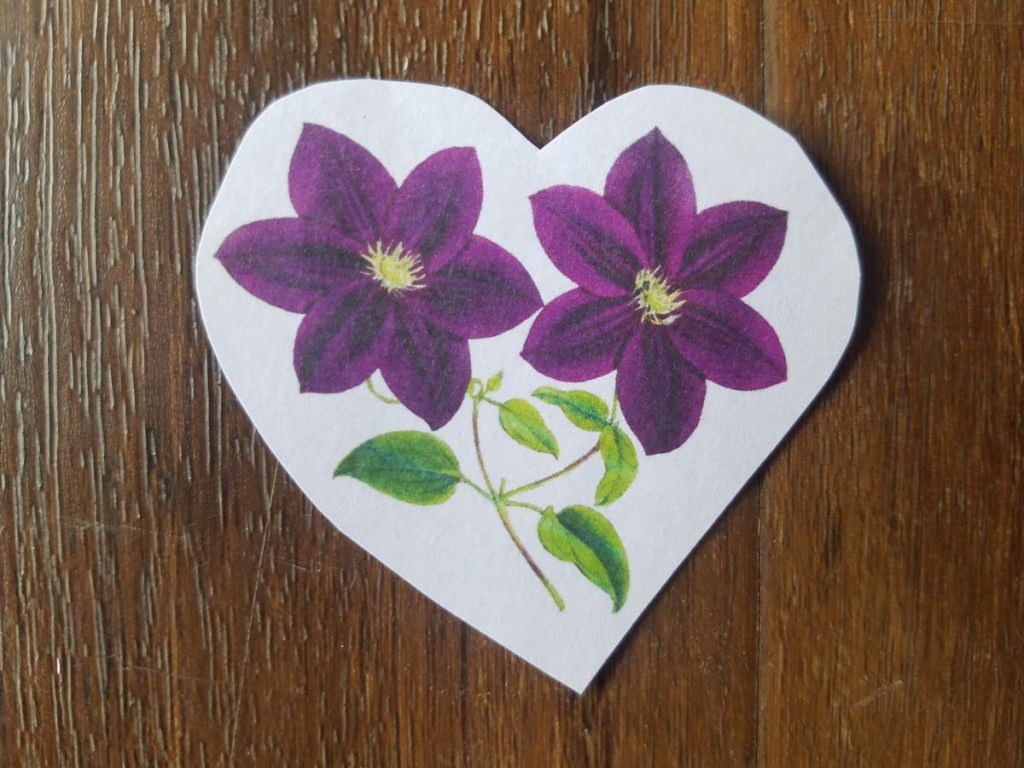
Straight-edge cut:
Flexible cut:
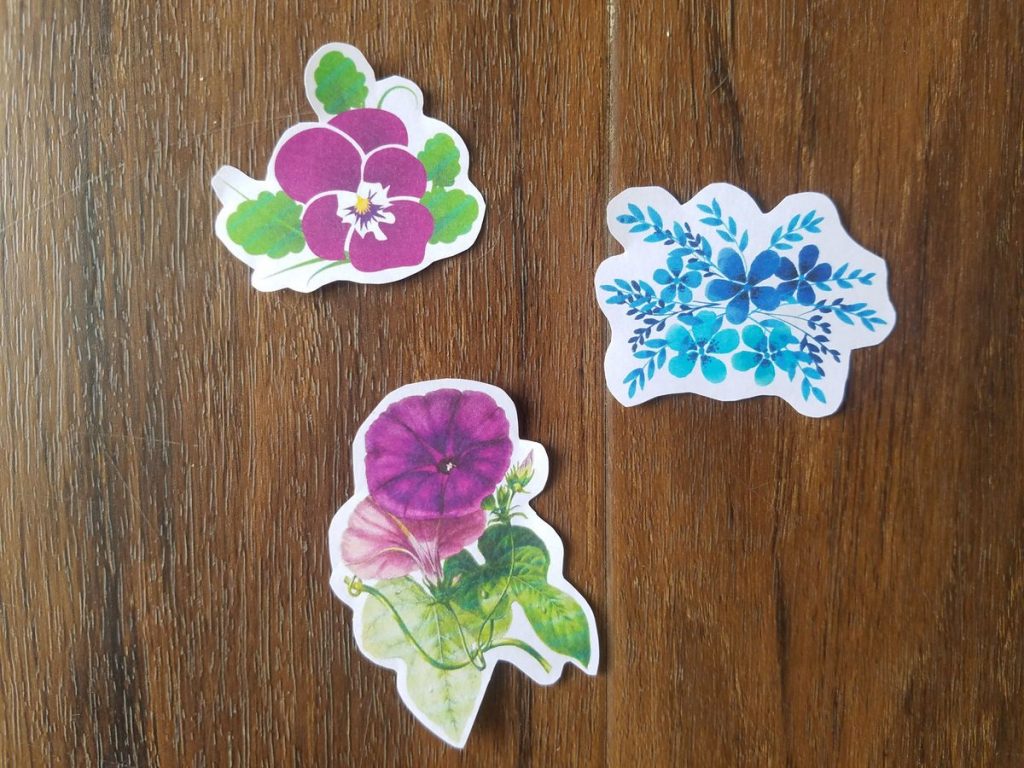
Exact cut:
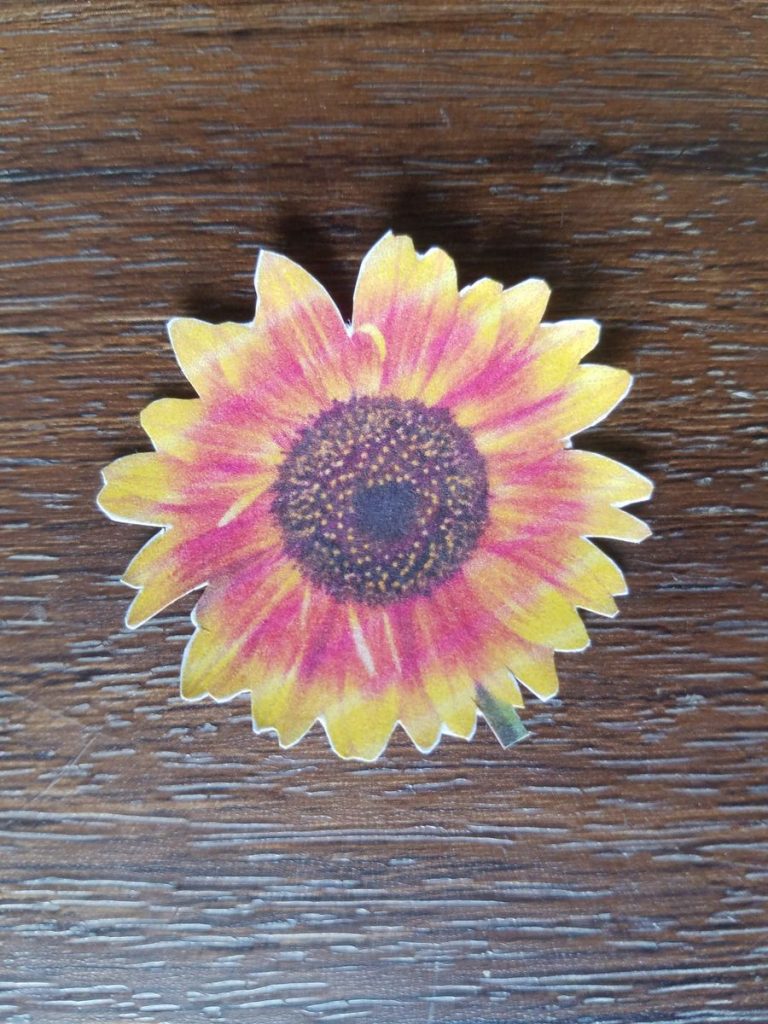
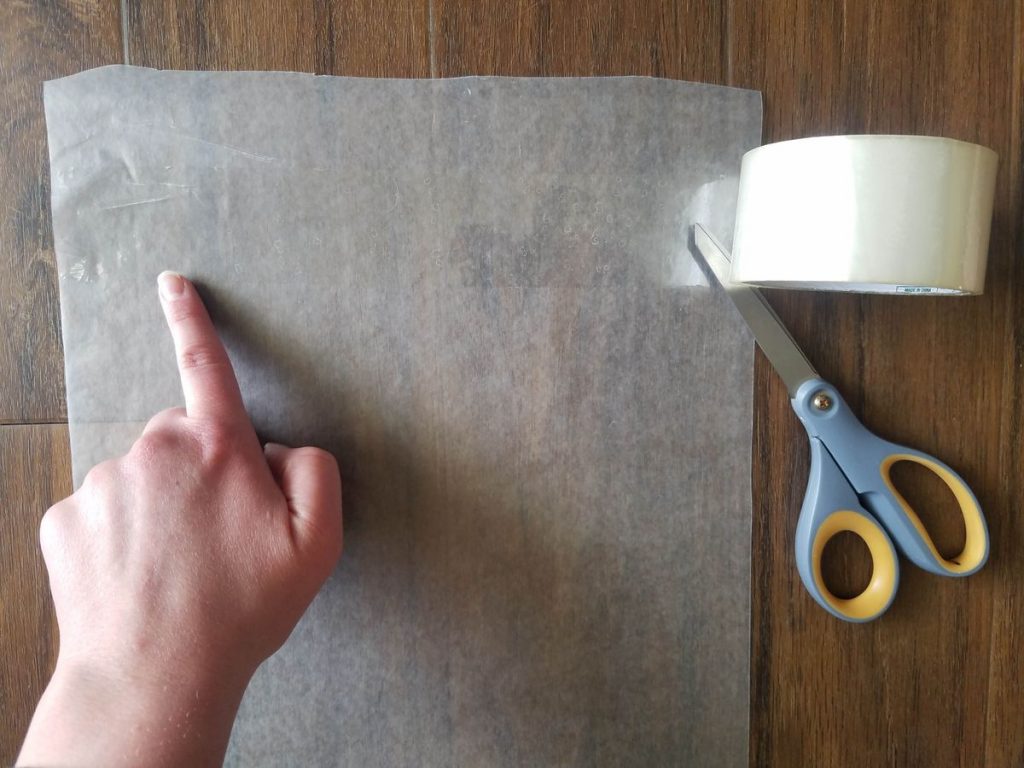
Step Three: Cut a Sheet of Wax Paper
To make stickers, you’ll need to cut a sheet of wax paper that will fit all of your cutouts.
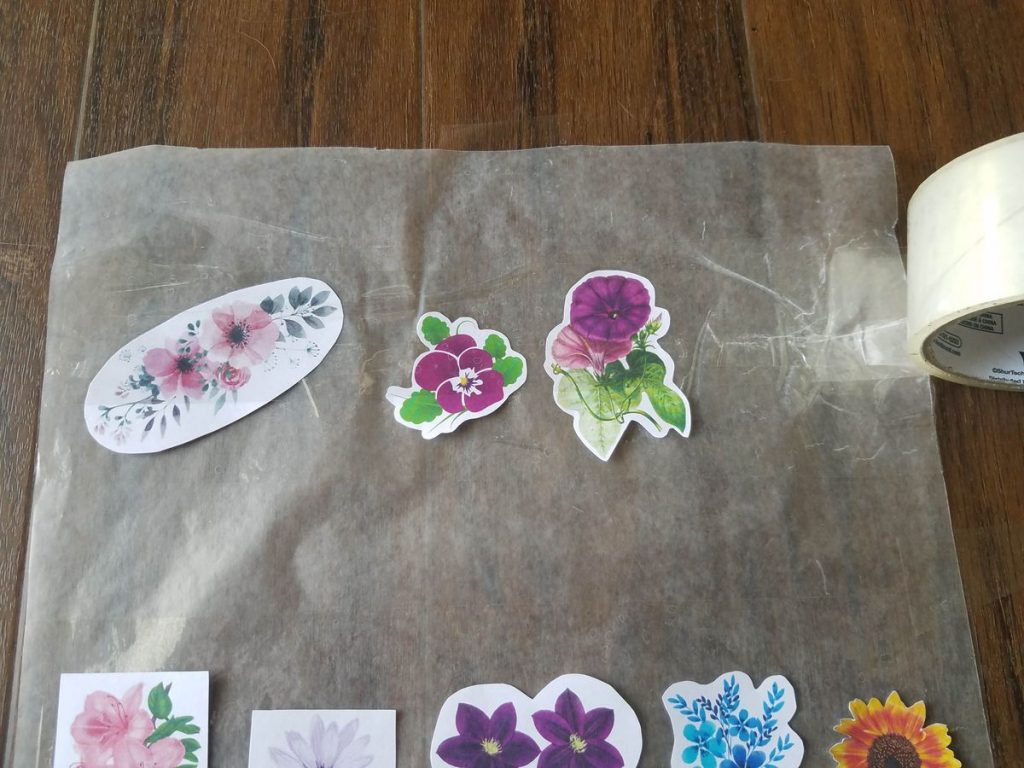
Step Four: Lay the Packing Tape in Strips
Lay a strip of packing tape across the wax paper (sticky side down).
*Pro tip: tape the four corners (or a small spot on each of the four sides) of your wax paper to the surface you’re working on. You’ll quickly learn that the tape creates static and it’s hard to lay it straight without the wax paper jumping around!
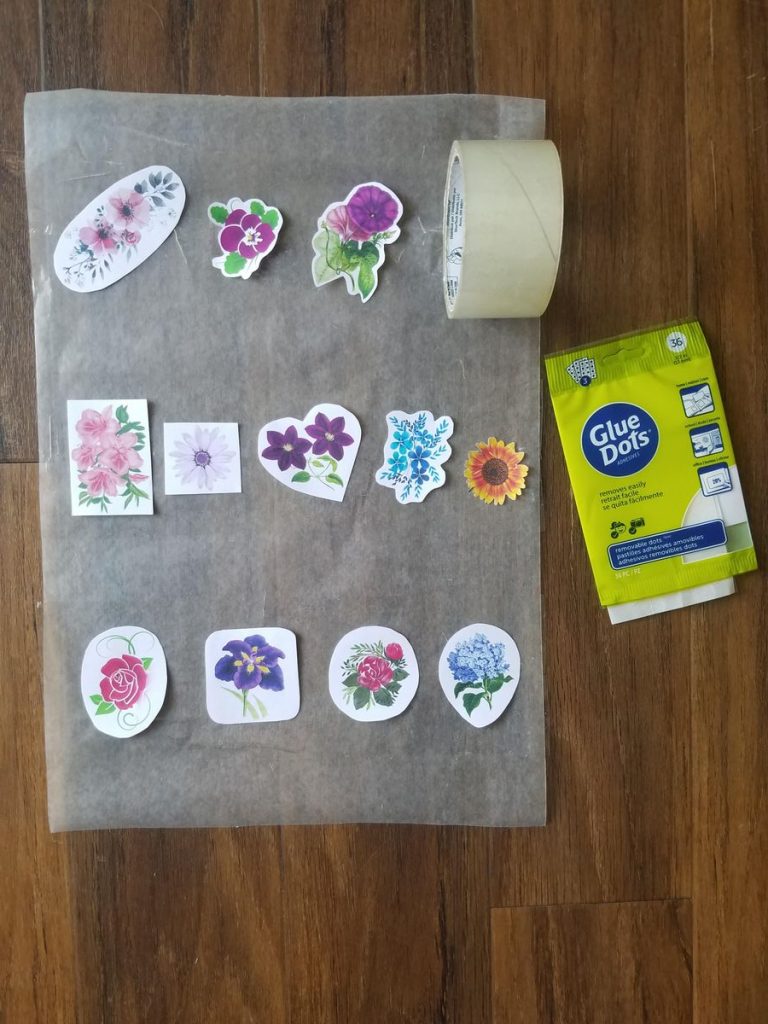
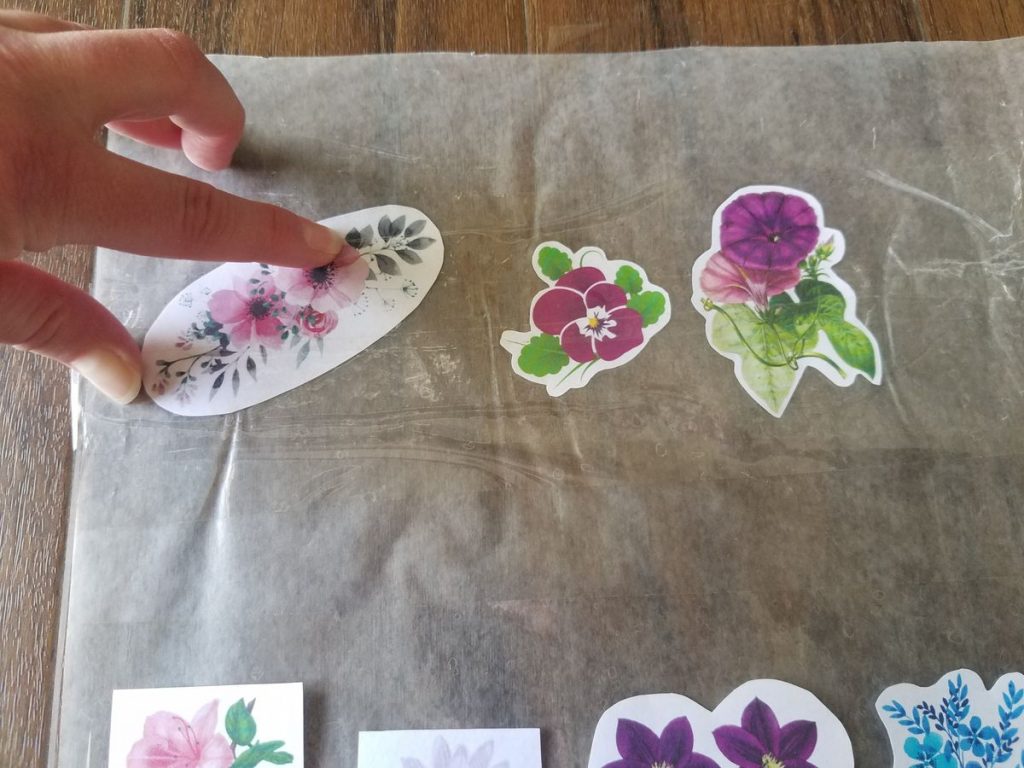
Step Five: Lay Your Sticker on The Tape
After laying enough tape on your wax paper to accommodate all of your stickers, place your stickers image-side-up onto the tape. Make sure your tape layers are wide enough so that your images are not touching the wax paper. I put two strips of tape side-by-side with a tiny overlap so that no part of the back of my stickers would be paper.
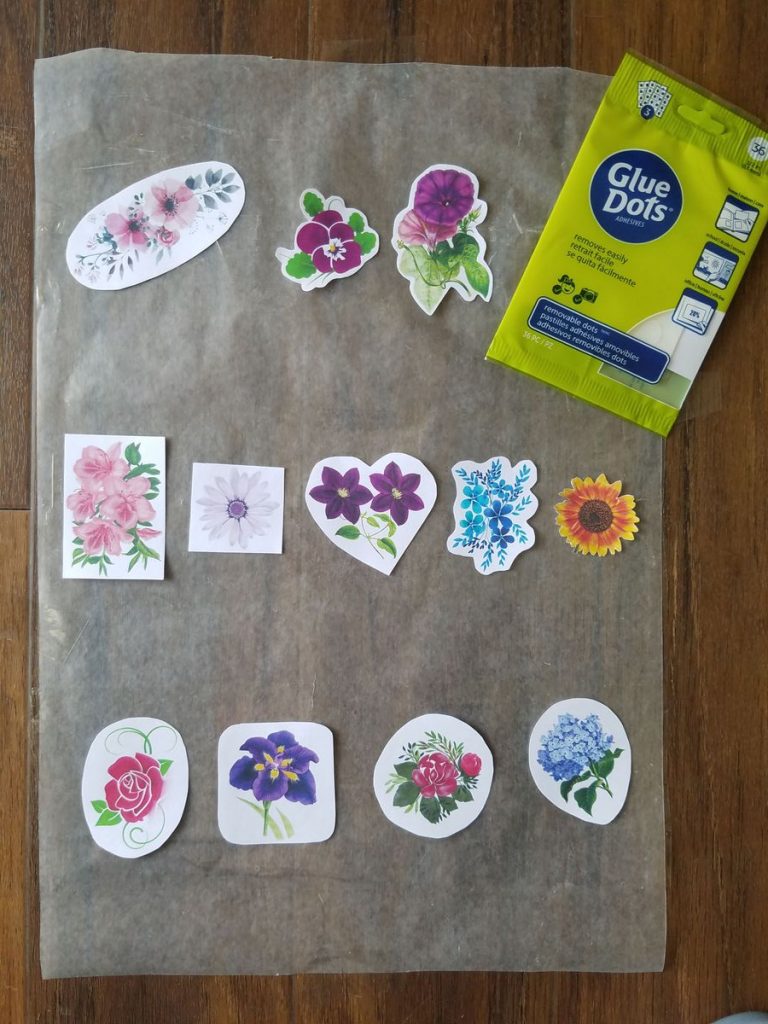
Pro Tip: I used glue dots to affix my images to the tape. This step is optional, but it makes the next few steps SO much easier if your images aren’t shifting around due to static cling. You can also try a dab of glue from a glue stick or a tiny piece of double-sided tape to accomplish the same thing.
Here’s How Glue Dots Work
You’ll need one glue dot for each sticker image.
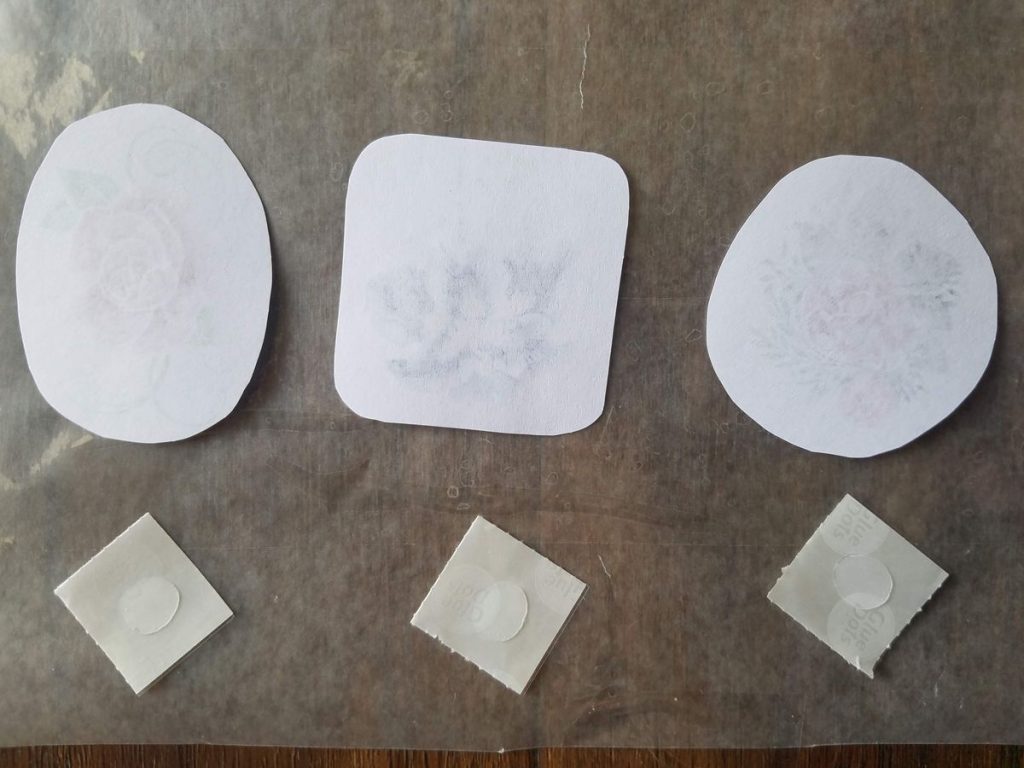
Remove the parchment backing of the glue dot.
Press the glue dot onto the back of your sticker.
Peel the clear wrapper off of the glue dot.
Stick each image to the packing tape. The glue dots were a side thought but came in handy when I realized how staticky everything gets!
Step Six: Add Another Layer of Tape Over Stickers
Using the same clear packing tape, lay a flat piece of tape over your stickers. This will seal and protect them, and it keeps them affixed to the sticky backside.
Pro Tip: Instead of laying a full strip of tape at once as I did, consider cutting smaller pieces to cover one sticker at a time. This will help eliminate bubbles from forming in the tape. If you do run into bubbles, try to work them out gently with the tip of your finger. Do not try to pull the tape up or it could ruin your image.
Step Seven: Do a Quick Cut Rough Cut of Stickers
Once your stickers are firmly taped down, run your scissors between them so that you can easily work with each sticker separately.
Step Eight: Cut Your Stickers to Final Shape
Now you can cut each sticker to its final shape.
Pro Tip: Make sure to leave a slight edge of tape around each sticker. This is what holds your sticker together! Don’t worry, that edge will be clear when you use your sticker.
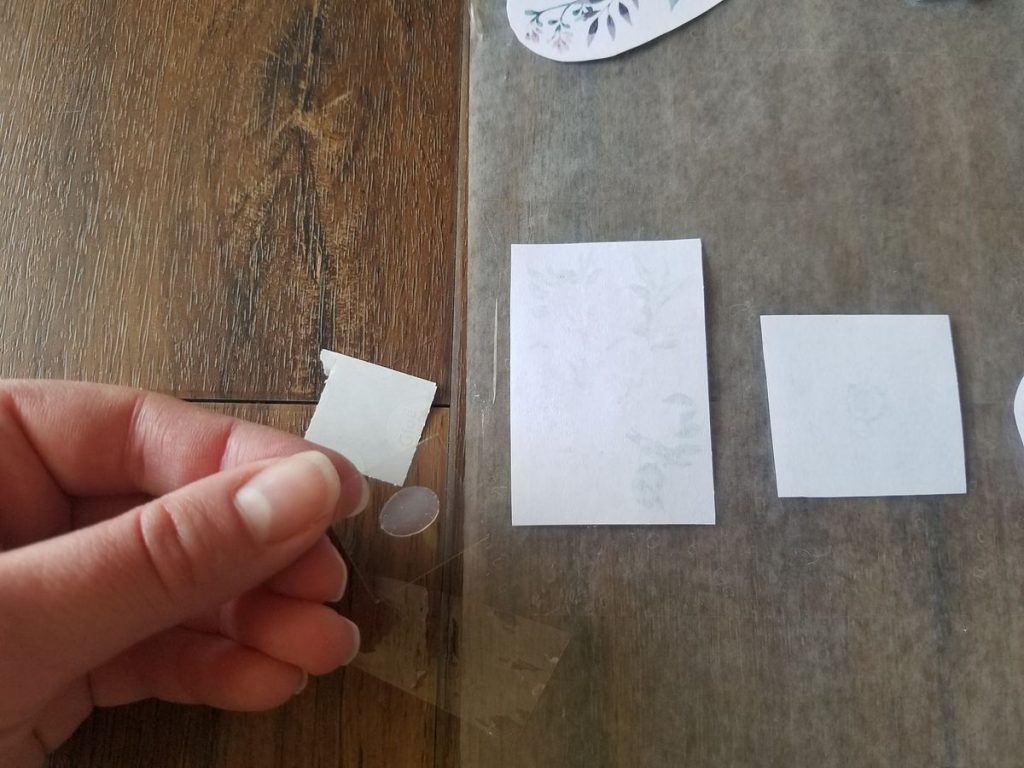
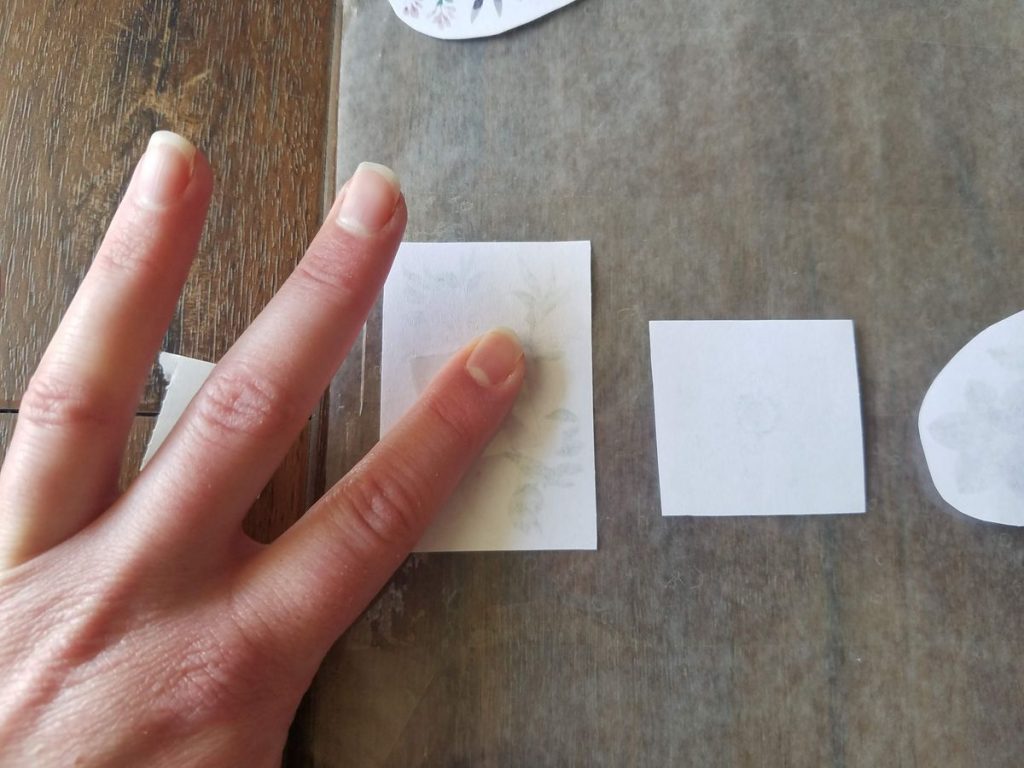
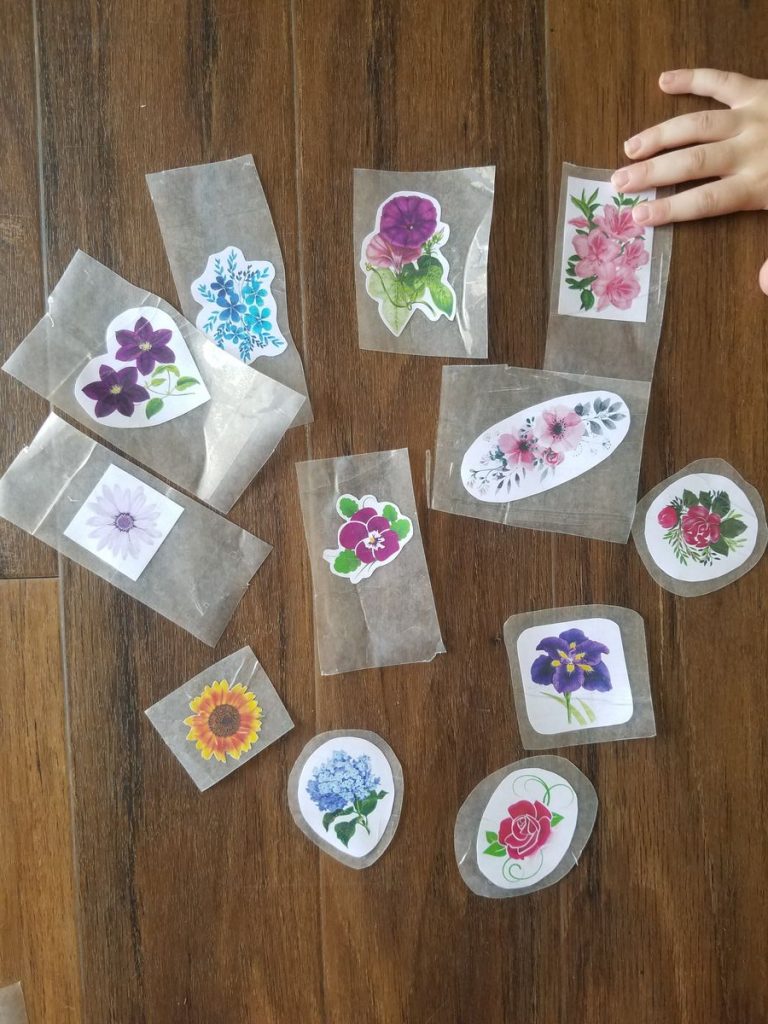
Step Nine: Remove The Wax Paper from Back of Sticker
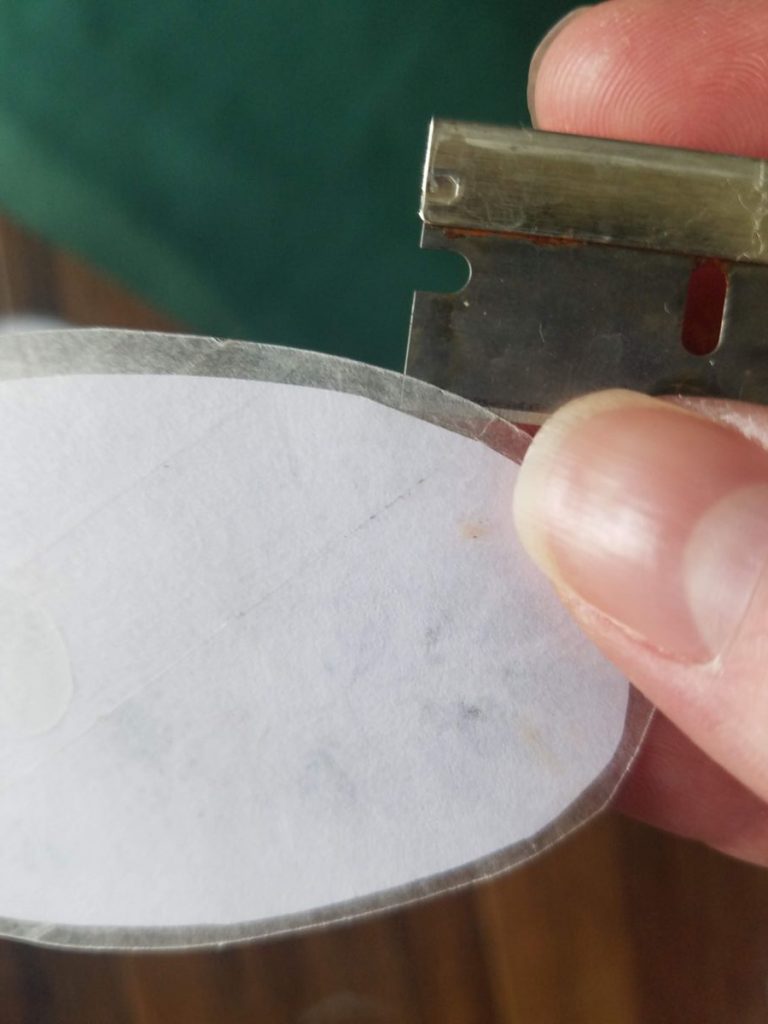
To use your sticker (aka reveal the sticky backside), you’ll need to remove the wax paper. This can be tricky so you’ll need to find a razor blade, needle, or other thin or sharp object.
Pro Tip: even if I’m not ready to use my stickers, I still like to remove the wax paper and lay them sticky-side-down on a fresh sheet of wax paper. This makes them super easy to peel and stick!
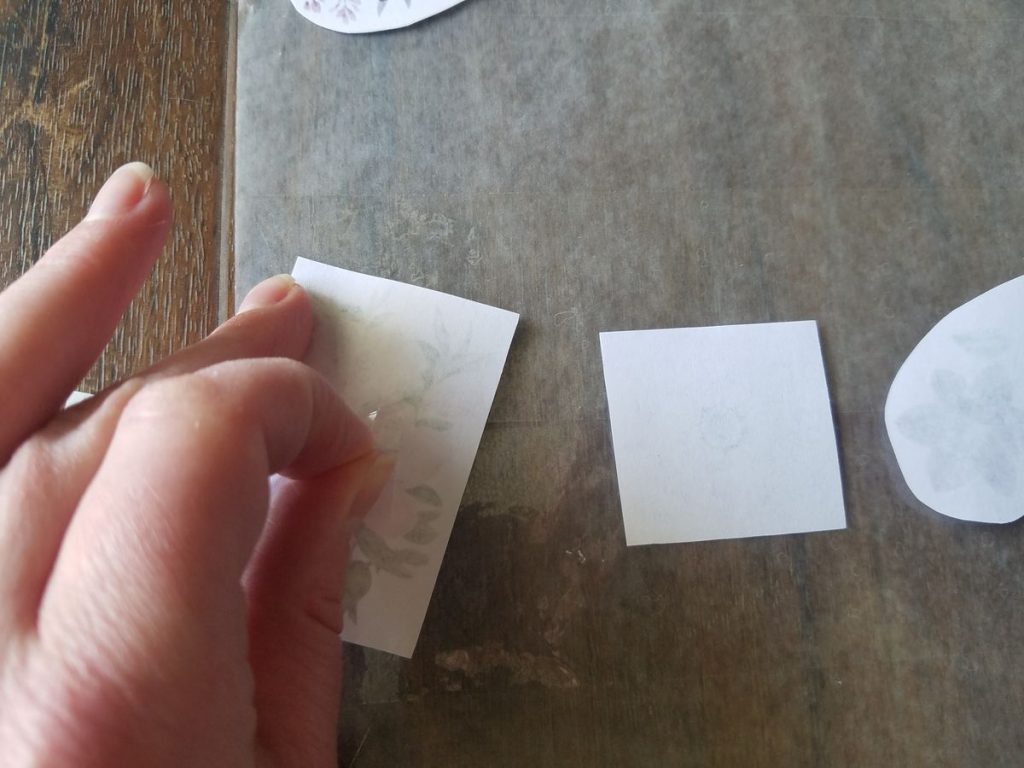
I used a sharp razor blade to peel the wax paper off of the sticker. Be careful just to remove the wax paper and not separate the two pieces of tape.
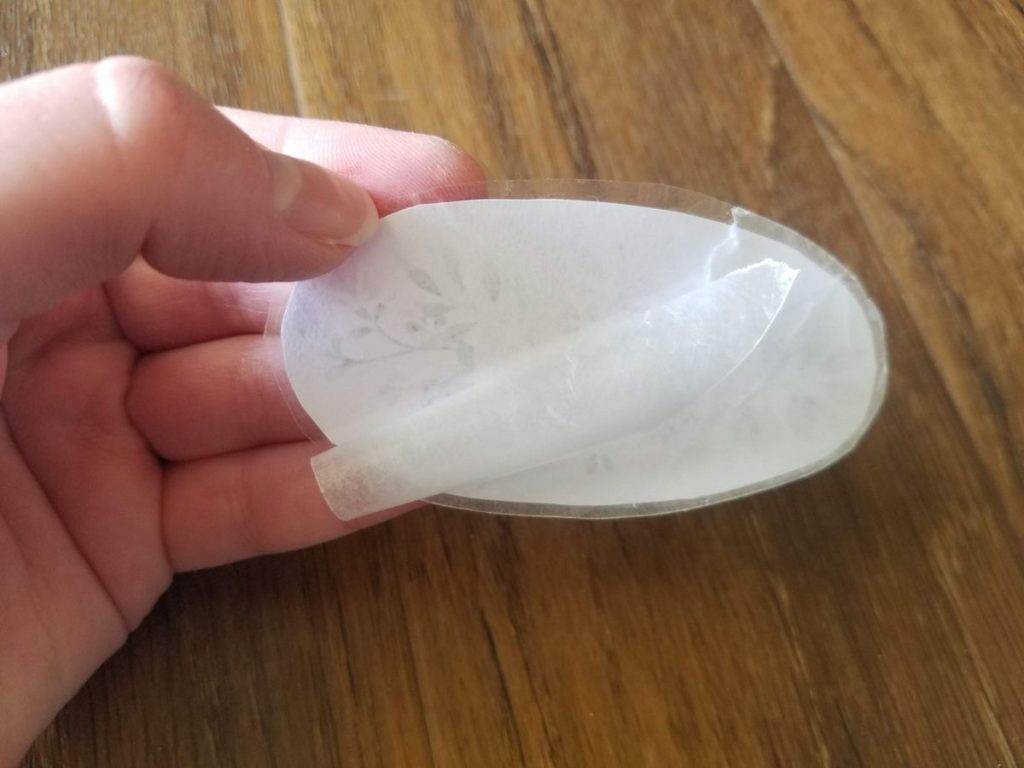
Once you get a tiny edge peeled away from the sticker, you can carefully tear the whole back away.
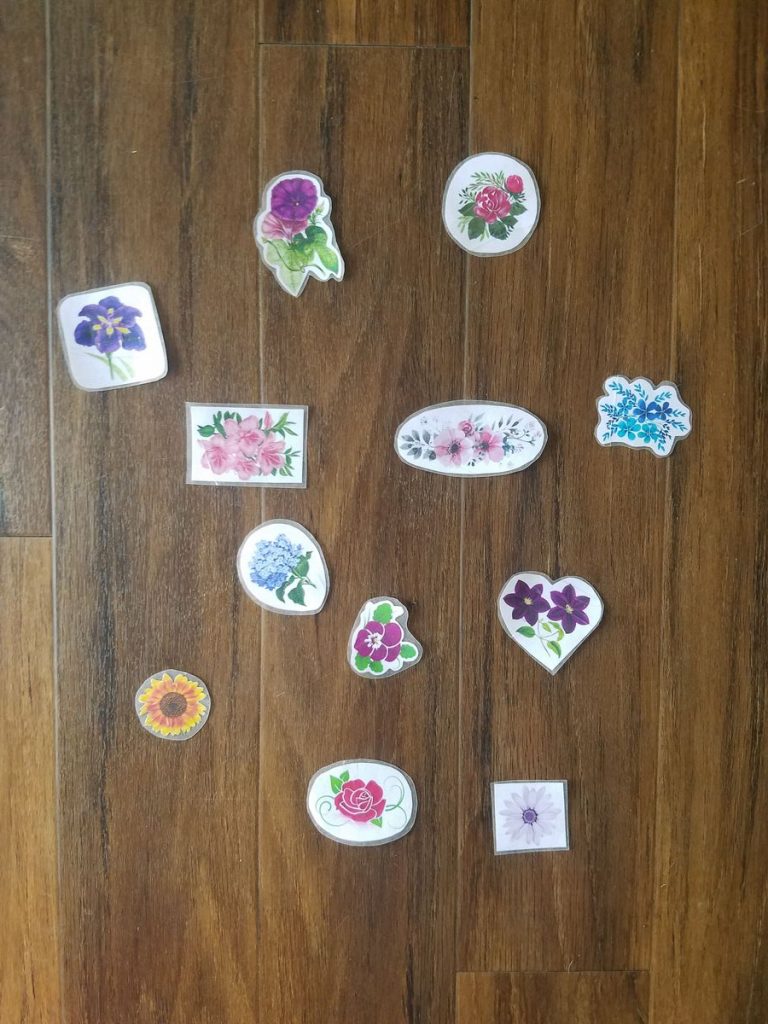
Step Ten: Use Your Stickers!
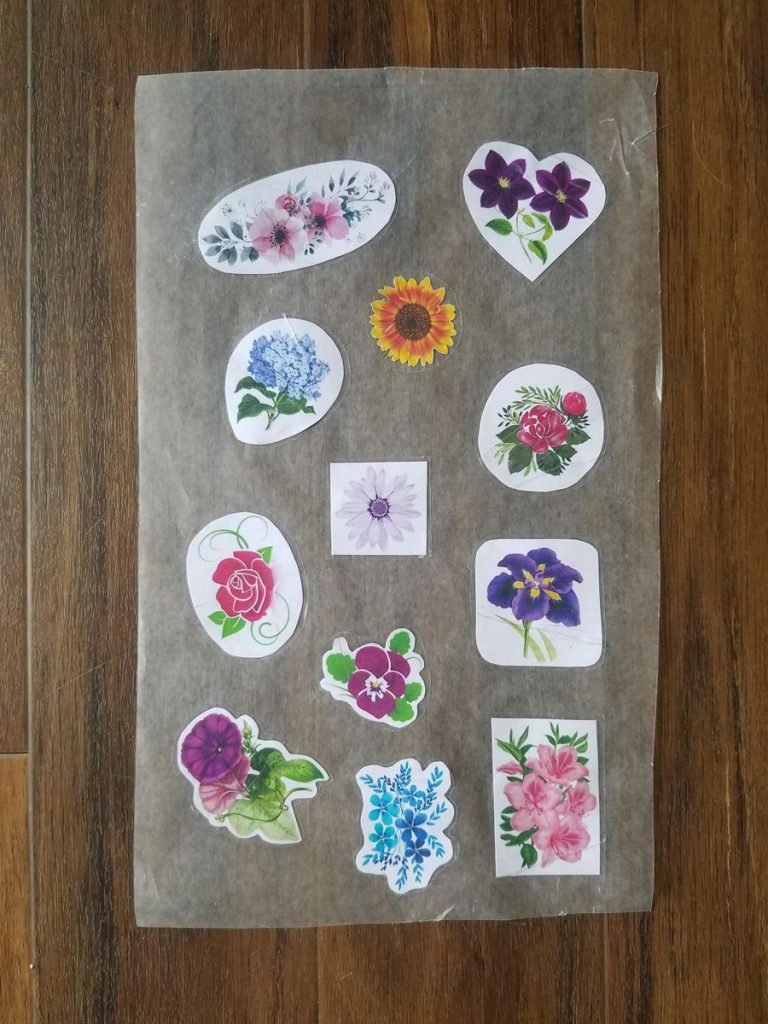
Your stickers are ready to use! And if you’re not ready to use them just yet, lay them on a fresh sheet of wax paper. They are so easy to peel away for future use.

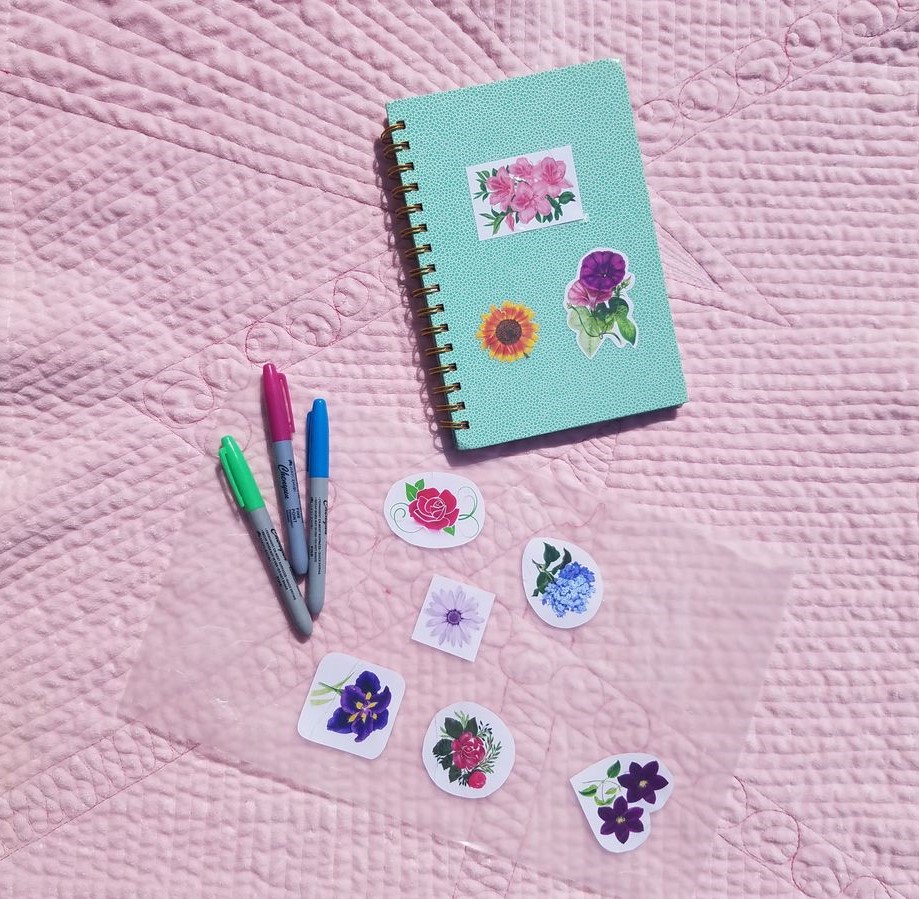
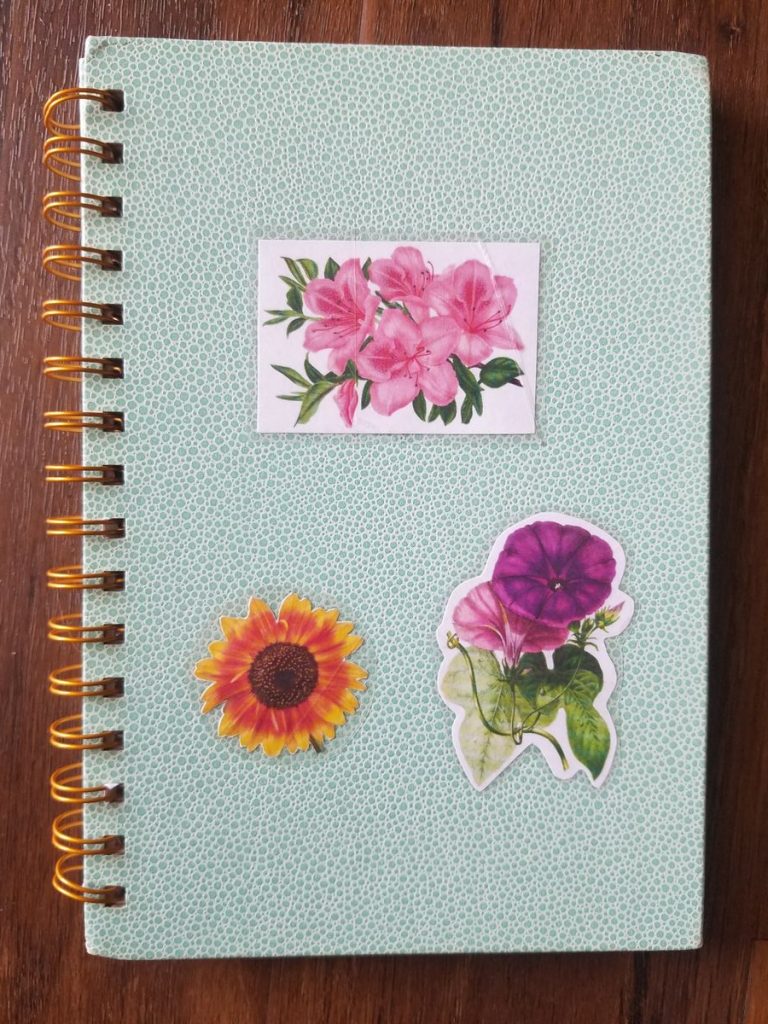
Here’s my final sheet of flower stickers! I love how they turned out. The only thing I would change going forward is to be more careful when laying the top layer of tape so I don’t create lines or bubbles through the sticker. But since it was my first take, I cut myself some slack and enjoyed adding them to my notebook!
Here is my notebook with homemade stickers:
Here’s an inside page example:

Related: DIY Checkerboard Game For Kids To Decorate, Play Or Gift
Making Stickers at Home is So Much Fun!
Making DIY stickers at home can be so much fun! It’s not super fast and some parts can be tricky, but it was relaxing just to shut out the troubles of the world and zone in on making these.
And then when my kids woke up, they had fun helping finish them, too! This is a super fun project for artsy kids, tweens, teens, and adults. And if you’re like me, it may even be more fun to make the stickers than to use them yourself. If that’s the case, then they would make perfect DIY gifts for friends and family.
Happy sticker making!